> For the complete documentation index, see [llms.txt](https://docs.apptiflo.com/llms.txt). Markdown versions of documentation pages are available by appending `.md` to page URLs; this page is available as [Markdown](https://docs.apptiflo.com/get-started/accept-and-invite-customers.md).
# Accept and invite Customers
### **Step 1** - Click **Accept** for Customer Requests on the Main Dashboard.
{% hint style="info" %}
Only pending Customer Requests are shown. Skip to step 2 if you don't have any Customer Requests.
{% endhint %}
A Customer will be created with **Connected** status. Account details are now linked between the Customer and your Account.
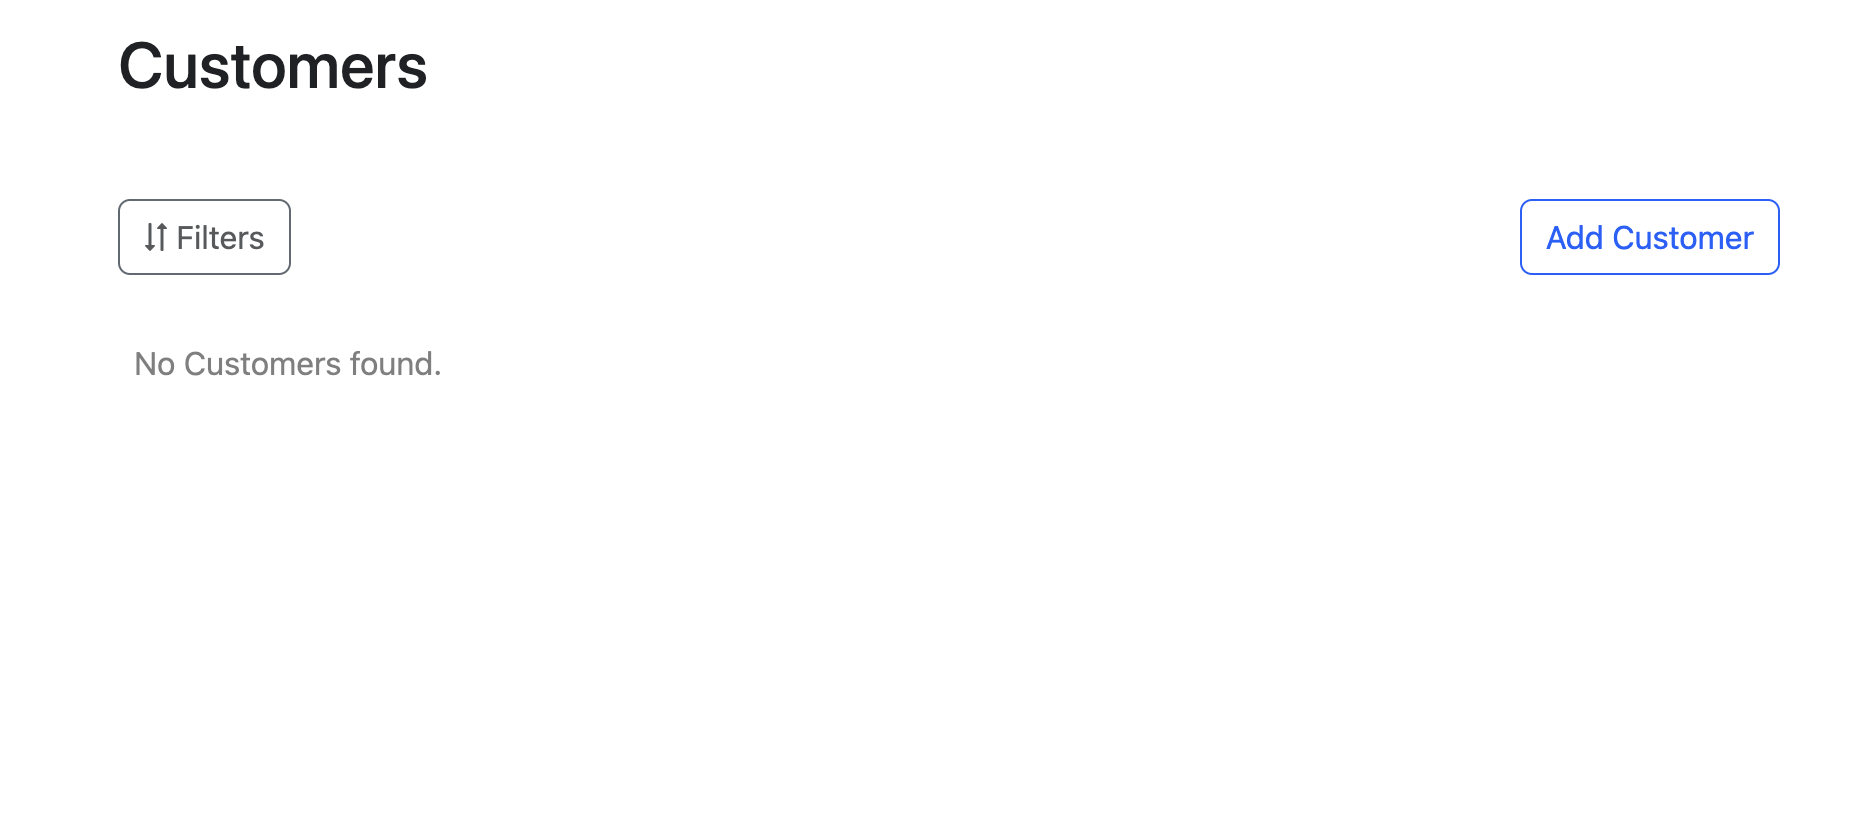
### **Step 2** - Invite New Customers by navigating to **Customers** on the Dashboard Side Navigation Menu.
Click **Add Customer**.
### **Step 3 -** Enter Customer info and **Save** to send invite.
A Customer will be created with status of **Pending**. An invite will be sent to the contact email. If the recipient accepts your request, this Customer status will update to **Connected**, otherwise status will be **Disconnected**.
### **Step 4 - Assign ****Connected**** Customers to Catalog**
Select **Connected** Customer and click **Edit**.
### Step 5 - Toggle Assigned Catalog, Select Catalog, and Click **Save**.
{% hint style="info" %}
Customers will have access to all the Listings of their assigned Catalog. You can have multiple Catalogs with different Listings to match your Customers.
{% endhint %}
{% hint style="success" %}
Great Job! You're now integrate with your Suppliers and Customers! You can now fully utilize the Order Builder to issue Purchase Orders for your Products and Sales Orders.
{% endhint %}